


Dylan Pierias vs Ayoubi - confronto dei giocatori


Profilo di giocatore
 Australia
Profilo di giocatore
Australia
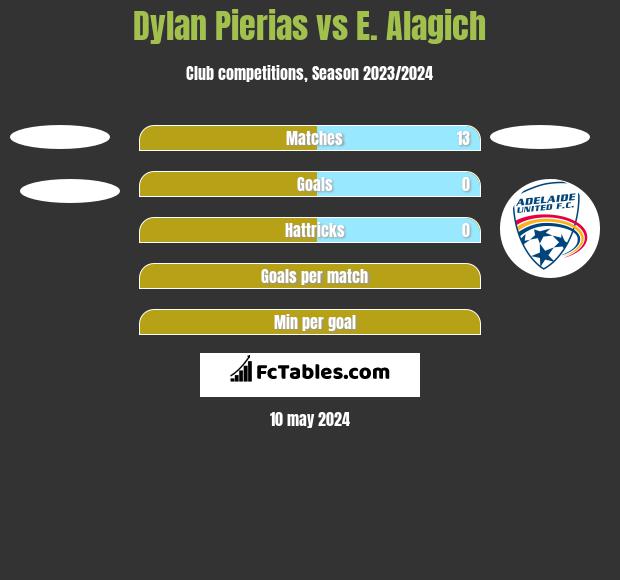
Statistiche Dylan Pierias, stagione corrente / attuale
Cambia lega: Tutte le leghe
Lega australiana
Olimpiade
Partite giocate
Gol Realizzati
Assist
Minuti giocati
minuti per gol
Cartellini
Giocatori di riserva
Statistiche Ayoubi, stagione corrente / attuale
Cambia lega: Tutte le leghe
Lega australiana
Divisione australiana 2
Cup Australia
Partite giocate
Gol Realizzati
Assist
Minuti giocati
Passaggi precisi
Tiri per partita
Tiri realizzati
minuti per gol
Cartellini
Giocatori di riserva
Statistiche Dylan Pierias
| Lega | Squadra | P | G | C | A | Min | 11 | Zs | Zw | CG | CR | T | Tr | Fg | Fc | P | Pr | Fg |
|---|---|---|---|---|---|---|---|---|---|---|---|---|---|---|---|---|---|---|
| 2022/2023 | 25 | 2 | 0 | 1 | 2260' | 7 | 7 | 15 | 1 | 0 | - | - | - | - | - | - | - | |
 Lega australiana Lega australiana |
 Western United FC Western United FC |
25 | 2 | 0 | 1 | 2260' | 7 | 7 | 15 | 1 | 0 | - | - | - | - | - | - | - |
| 2021/2022 | 27 | 2 | 0 | 1 | 2687' | 11 | 10 | 14 | 1 | 0 | - | - | - | - | - | - | - | |
| 2020/2021 | 26 | 6 | 0 | 1 | 2777' | 20 | 8 | 6 | 2 | 0 | - | - | - | - | - | - | - | |
| 2019/2020 | 27 | 0 | 0 | 1 | 1656' | 2 | 0 | 19 | 1 | 0 | - | - | - | - | - | - | - | |
| 2018/2019 | 4 | 158' | 0 | 0 | 2 | - | - | - | - | - | - | - | ||||||
| 2016/2017 | 1 | 90' | 1 | 0 | 0 | - | - | - | - | - | - | - |


Statistiche Ayoubi
| Lega | Squadra | P | G | C | A | Min | 11 | Zs | Zw | CG | CR | T | Tr | Fg | Fc | P | Pr | Fg |
|---|---|---|---|---|---|---|---|---|---|---|---|---|---|---|---|---|---|---|
| 2024/2025 | 8 | 6 | 0 | 3 | 1248' | 8 | 0 | 8 | 2 | 0 | 17 | 9 | 0 | 4 | 201 | 56% | 4 | |
| Lega australiana |
5 | 1 | 0 | 1 | 744' | 5 | 0 | 5 | 0 | 0 | 10 | 6 | 0 | 1 | 135 | 83% | 3 | |
| Divisione australiana 2 | Adelaide United Youth | 3 | 0 | 0 | ' | 1 | 0 | - | - | - | - | - | - | - | ||||
| Cup Australia | Adelaide United | 3 | 2 | 0 | 2 | 504' | 3 | 0 | 3 | 1 | 0 | 7 | 3 | 0 | 3 | 66 | 0% | 1 |
| 2023/2024 | 2 | 0 | 0 | 1 | 287' | 2 | 0 | 2 | 0 | 0 | 8 | 2 | 0 | 2 | 45 | 64% | 0 |


Select Players to compare
Select two players to view direct player compare. When you select players we will show you full compare stats of selected footballers
1
VS
2